Go  | New  | Find  | Notify  | Tools  | Reply  |  |
| Member |
More working on photography, and I thought thee were neat, so I figured I would share. 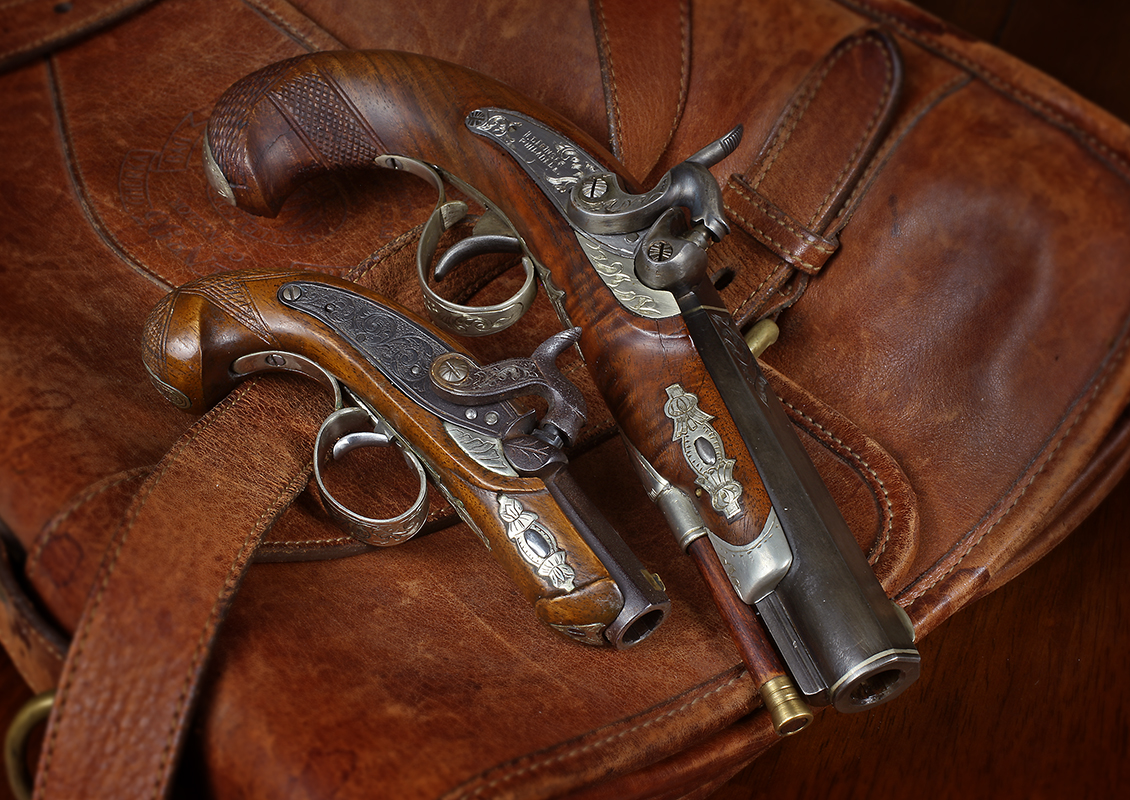 These are both reproductions, since I really don't swim in the kind of waters where folks buy original H Deringer pistols! However, the larger one, modeled after what might better be called one of Deringer's "coat pistols", being a bit large in comparison to what most would consider a traditional H. Deringer product, ended up being something a bit interesting. I bought it as an "unknown replica", and thought maybe Italian. I got it and found the engraving was hand cut, and the quality way higher than I was expecting. Took it apart and found it marked the side of the barrel L Bryner. Who, it turns out made a lot of very nice handmade muzzleloader rifles. And, apparently, at least one very nice pistol! The smaller one, more in line with what you think of when you hear "Deringer" is actually also very nice, ended up being marked as "Palmetto" under the barrel. SO, if it's the Palmetto I am familiar with in reproductions, that would make it Italian, but whether it was a kit assembled by someone with above average talent or sold as is, I don't know. Bill R. | ||
|
| Member |
Couple more of the Bryner. 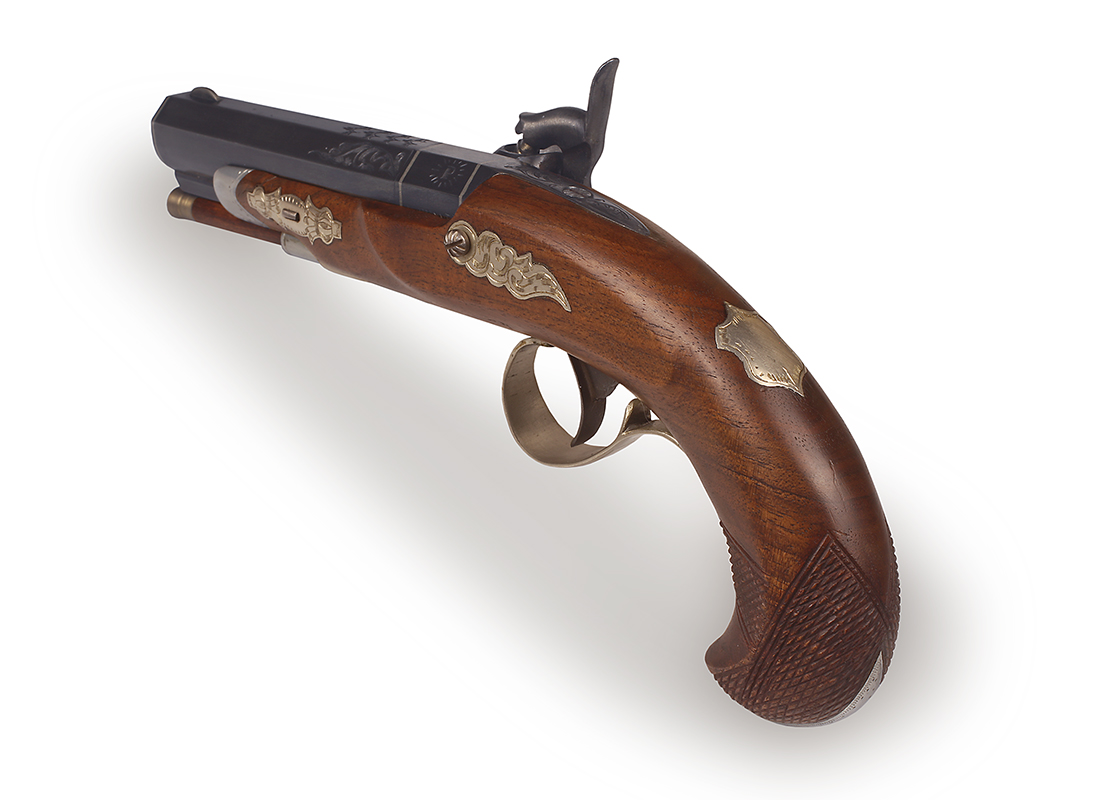 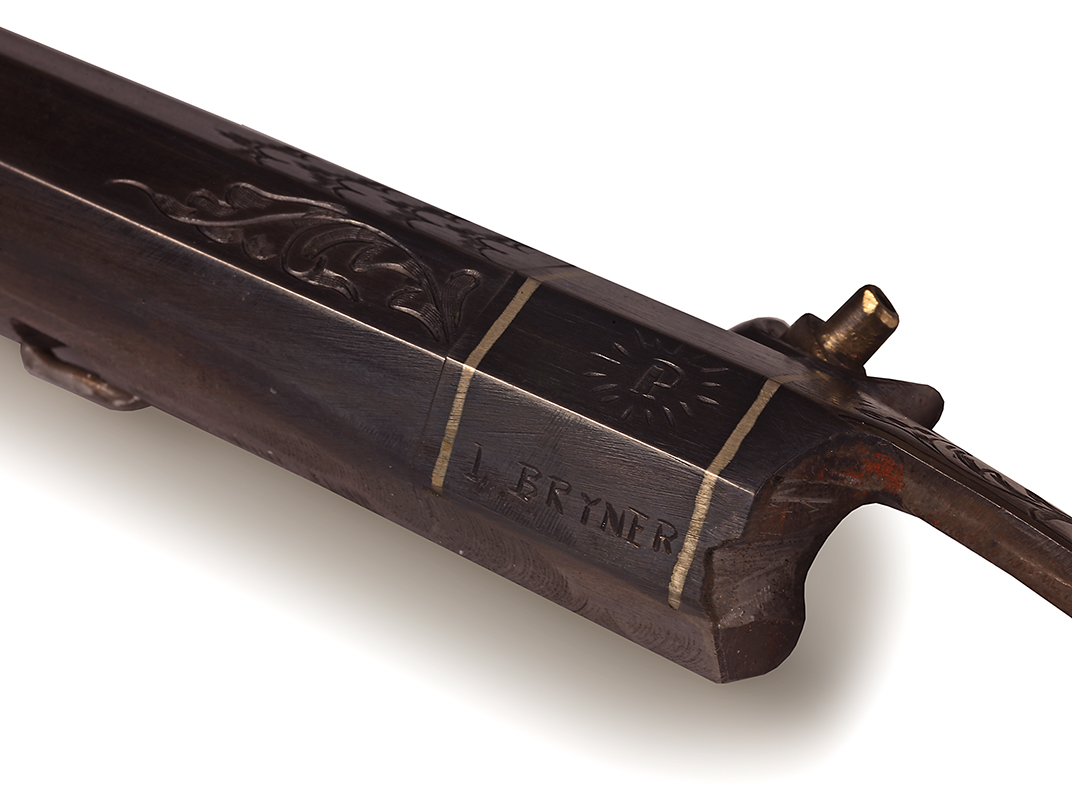 Bill R | |||
|
| Member |
Very nice photos indeed! | |||
|
| Member |
Very handsome. Mr Deringer also got contracts for Army muskets and rifles. I read that he had a range in the cellar of his store/shop. You could shoot your pocket pistol and have it cleaned and reloaded (notice the pocket model has no ramrod.) | |||
|
| Member |
So, going to try this... An excerpt from a work in progress, this is part of a chapter on single shot pocket pistols. Very much a work in progress, this is a first draft, and obviously, I am using the two pistols I have on hand to fill in until I get get a chance to photograph some originals. 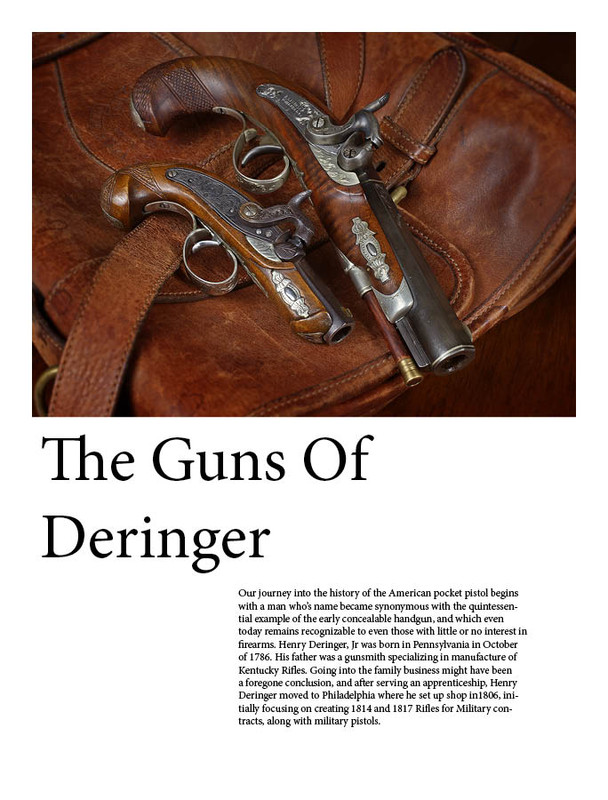 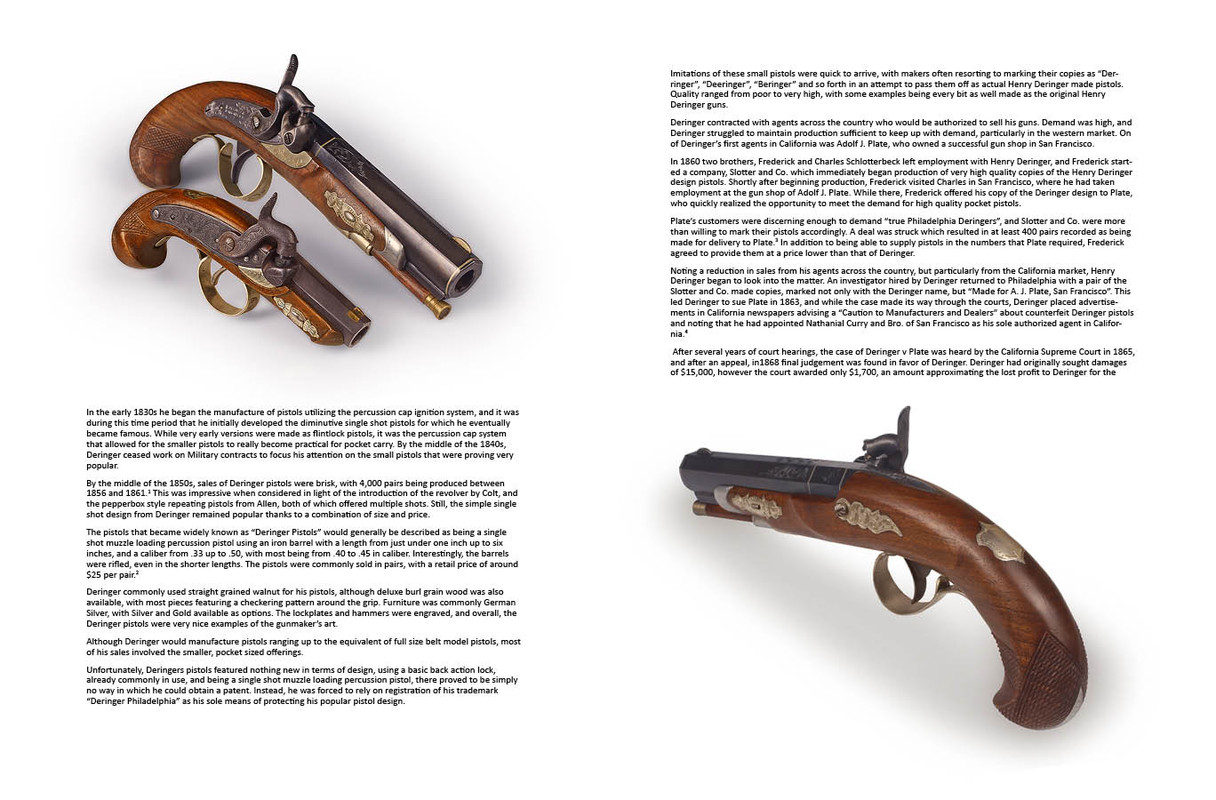 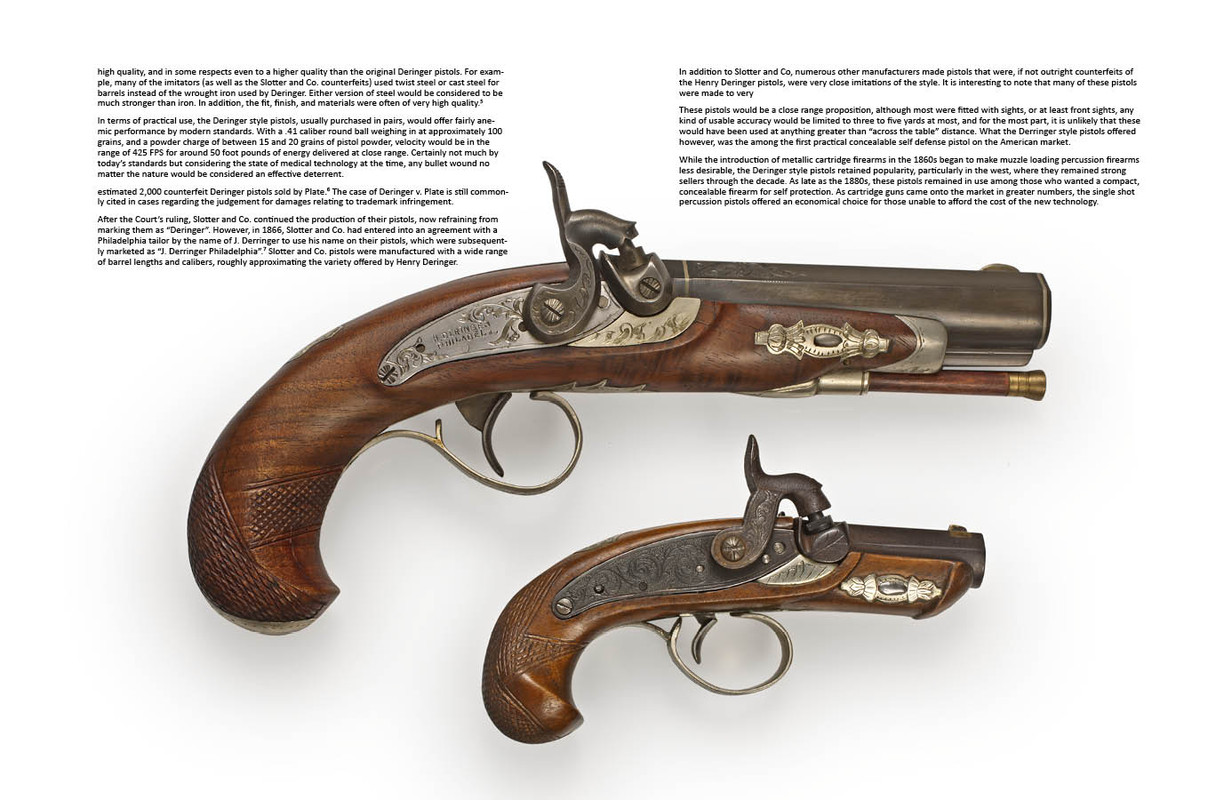 As you can tell, I am still in the very easy stages of learning Adobe In Design. But, any feedback is always welcome. Like I said it's a first draft, so there is probably a lot of room for tightening up! Bill R | |||
|
| Peace through superior firepower |
Very nice My only suggestion would be to make your text just a touch bigger. | |||
|
| Member |
Thanks! Oh yeah… The font thing is definitely at the top of my list. As soon as I find how to change font size in In Design! I consider myself pretty good with Photoshop especially when it comes to editing and design for photos. But I decided I wanted control over the book layout, which means “better learn In Design”. I figured, how tough could it be? It’s still Adobe, I bet a lot of stuff will carry over. Umm…. That’s a negative. Been spending a lot of hours on the youtubes learning stuff! Bill R | |||
|
| Member |
[QUOTE]Originally posted by stylophiles: More working on photography, and I thought thee were neat, so I figured I would share. Can you give me more info on the photographic settings: Fstop, speed, ISO, lens and camera. It is a real nice shot. Did you use lightroom to clean it up? | |||
|
| Member |
I used to work out of a full studio when I earned a living at it, but since changing careers, I've been making do at home. And, actually, since this project will hopefully involve travel for the photography, it works out that I've developed a relatively portable setup.  I started with a couple of cheap soft boxes off Amazon. The lights themselves are fine, I will probably need to upgrade the stands. They are LED, with some rudimentary color temp options, as well as three light level choices. More than enough to set up good directional lighting on small objects. Camera is a Canon 1Ds MK III. I use their very good 50mm EF compact macro for about 80 percent of the work, the other twenty percent it's the same lens, but with their EF Life Size Converter stuck behind it. Most of these end up shot around f22, with exposures anywhere from 1/4 to 10 seconds. For ease of post work, I just shoot in JPEG, and do three or four bracketed exposures per. I keep the ISO at 100 since I have no real need for high shutter speeds, everything is done from a tripod. Post work is done on a nine year old MacBook Pro. I use Adobe Photoshop. I start with blending two or three exposures using a layer mask to preserve as much detail across as wide a range as I can. Then, I do an initial adjustment for color and levels. Once the easy part is finished, we get to the fun... I manually select individual areas and create separate layers for areas that will benefit from individual color and level adjustment. For example, on these I would do a layer that is the wood, a layer that is any blued metal, a layer that is any silver metal, and maybe a layer that is any brass metal. Each of those materials really needs to be adjusted individually for best results. This is really important when you are going to place an image on a white background. (Guns are easy! When I was doing jewelry, an image might have twenty or more layers if it involved gemstones or translucent enamel over guilloche engraving ...) Once each layer is adjusted I save a master file as a layered PSD or TIFF file, then I can flatten the image, run an unsharp mask, resize it and save as appropriate for use, either CMYK for print or as a RGB JPEG if it's going online. Bill R | |||
|
| Powered by Social Strata |
| Please Wait. Your request is being processed... |
|
© SIGforum 2025