Go  | New  | Find  | Notify  | Tools  | Reply  |  |
| member |
160lbs is a very good weight for a hobby blacksmith. I used to have a TFS (Texas Farriers' Service) in the 160lb weight. Yours looks like a good find. Now you just need to find (or make) some Hardy insert tools, like these, at Pieh Tool Company. | |||
|
My hypocrisy goes only so far |
| |||
|
Nosce te ipsum |
You anvil guys! Don't tell me . . . there's a anvil sub-forum on your blacksmithing forum Hobbies will be the death of me. I just now took apart a violin because the neck angle was off by 2˚. Undid hours and hours of work in 30 minutes. Damaged parts which will take hours to repair, let alone the reconfiguration of parts to correct the issue. And the tone of this 1850s French violin was perfect. Talk about a head-banger. I've cut it twice and it's still too short. | |||
|
My hypocrisy goes only so far |
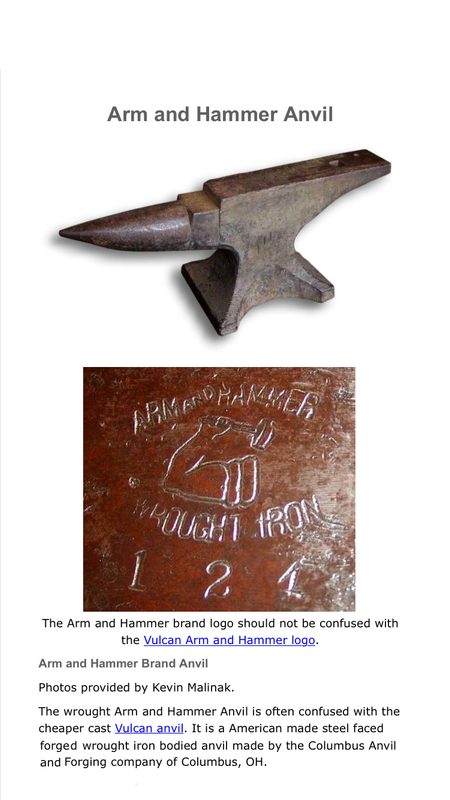
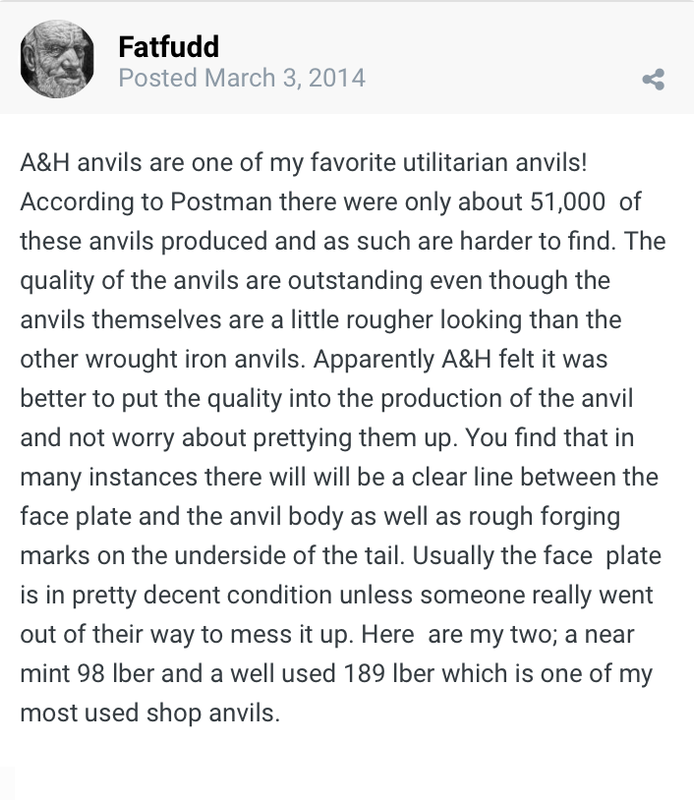
It's our interests and hobbies that define us and keep our minds sharp. And yes, there is an anvil section on the IFI forum. I'm really showing restraint by not ordering the "Anvils in America" book. $90-$140 in its seventh printing. The end all be all for anvil info on this side of the pond. (Info on Arm & Hammer anvils) https://www.iforgeiron.com/top...m-and-hammer-anvils/  This message has been edited. Last edited by: GrumpyBiker, This message has been edited. Last edited by: GrumpyBiker, | |||
|
Member |
Nice work! Sweet looking anvil. - and I'm still jealous | |||
|
My hypocrisy goes only so far |
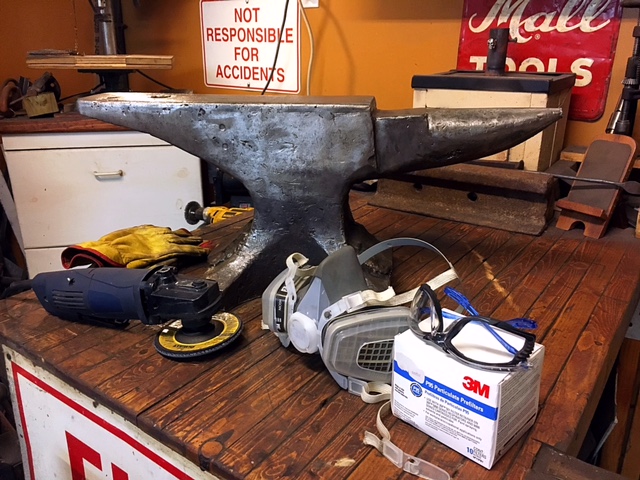
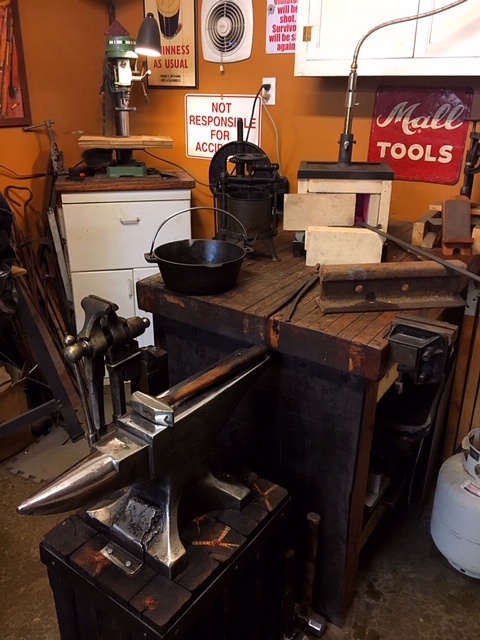
Base for the new anvil is coming together. 20 pieces of 4x4s are cut , screwed & glued together. Rows are lag bolted to each other and the metal banding cut and screwed in place. Corners welded & screws replaced with more lag bolts. Lag bolt heads ground down and rounded over & painted. The top is getting flattened & about ready for the anvil mounting braces.  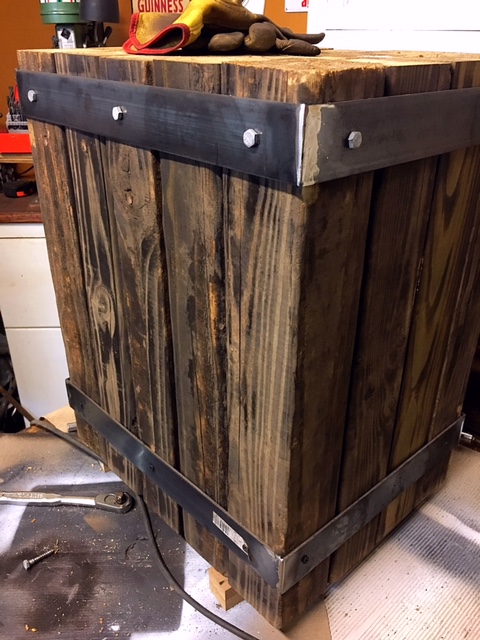 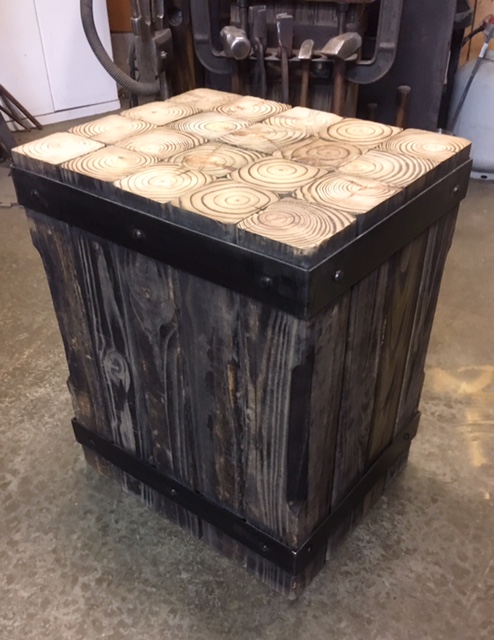 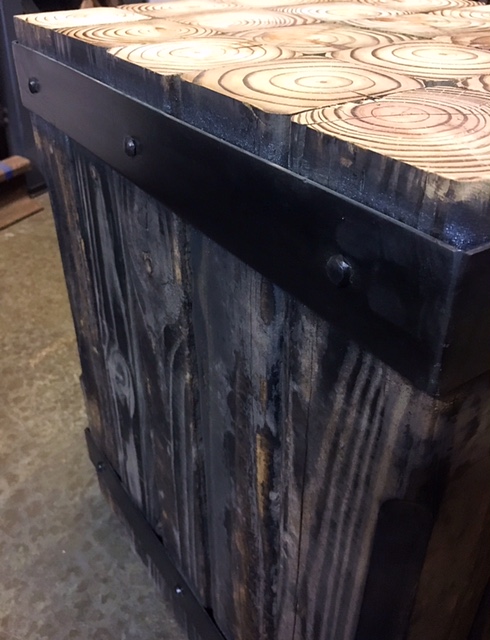 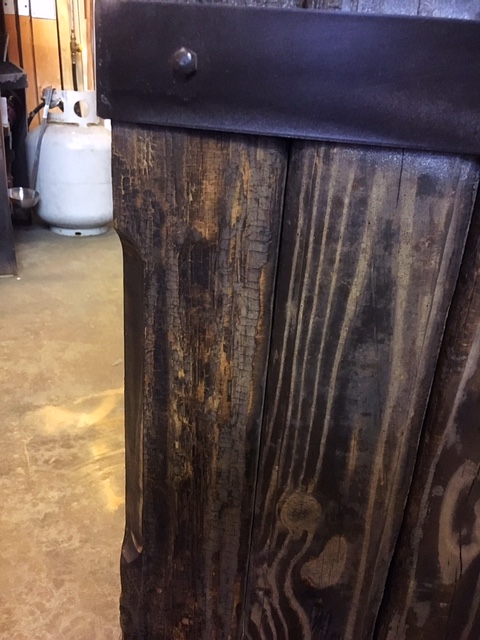 | |||
|
Ammoholic |
I don't know anything about anvils (outside of road runner) but it's sure got a pretty resting spot. I'd use that as an end table for sure. Jesse Sic Semper Tyrannis | |||
|
| Member |
Amazing work fellas. I Did some real amateur blacksmithing when I was a teen in the 80s. Enough to earn metalwork merit badge and make a few crude pieces including flux welding some joints. I have my grandpas little 10 pound anvil and I wish to heck I had grabbed his ~200# anvil he had in shop yard for 70 years that he used on occasion but things got weird in the family prior to the estate sale and I couldn’t get it out of there. I watch forged in fire a lot and would like to try making a knife. A legit Arm and Hammer anvil is for sale locally, seller wants 1500$ for it. I’ll keep my eyes out for estate sales. Another guy locally has railroad track anvil for 40$ not sure on the length though. We’ll see | |||
|
My hypocrisy goes only so far |
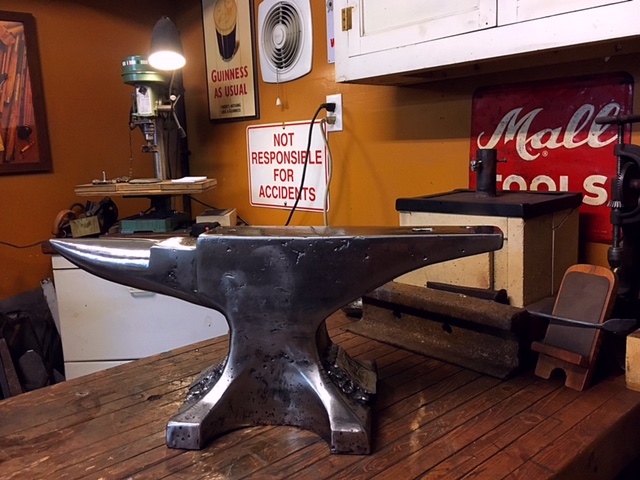
ELToro, if you decide against either of those you should be able to pick up a piece of 4” thick “drop” at a metal fabrication shop or even the scrap yard. That would be flat & heavier than a RR Track anvil & probably $50-ish dollars. Since you’ve had some experience in the past you probably know this but for anyone thinking they might want to try their hand at this the idea that a person has to have a London style anvil to get started is inaccurate. As is sternly & clearly explained by the professionals on the IFI forum, people have been Blacksmithing for 3,000 years. The London style anvil has only been in use for the past 200 odd years. But I’ll admit, sometimes you just want what you want. Also a horn or a Bick is so useful in shaping metal & drifting holes I’d want at least a chunk of RR Track and shape it my self as did my first anvil. I’m looking to buy one more anvil. Specifically an 80-100 pounder as a travel anvil. Once I secure the second one I’ll be selling my RR Track anvil & stand. Should make for a nice starter setup for someone else. ——————————————————————————————- The shop that owned my Anvil had welded 1/2” steel plates on the front & back. They were brackets that were welded to a metal anvil base. Makes for a rock solid mounting but is sacrilege to anvil collectors. As I am not one and since it doesn’t effect its function as an anvil it was a negotiation point for me but not a concern. I decided not to grind the welds and remove the remnants of the old brackets but rather to weld a new bracket onto them. Doing that wouldn’t add or cause any additional damage to the anvil and for the same reason the shop before me added them, it’s a solid if not proper way to mount the anvil. I used 3/8” angle iron & 5” lag bolts to secure it. *** yes I know my welds are not beautiful 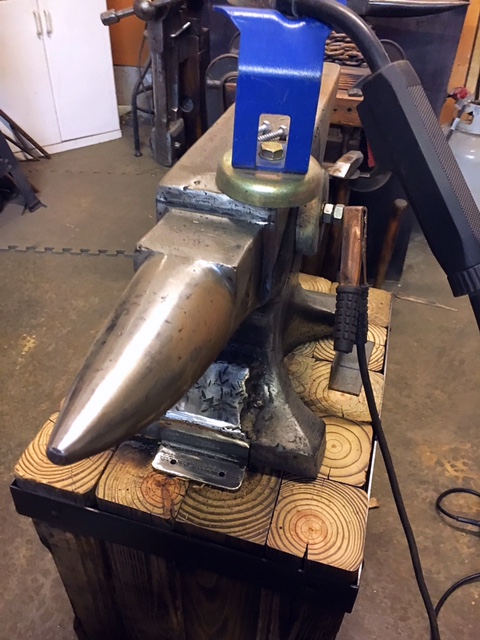   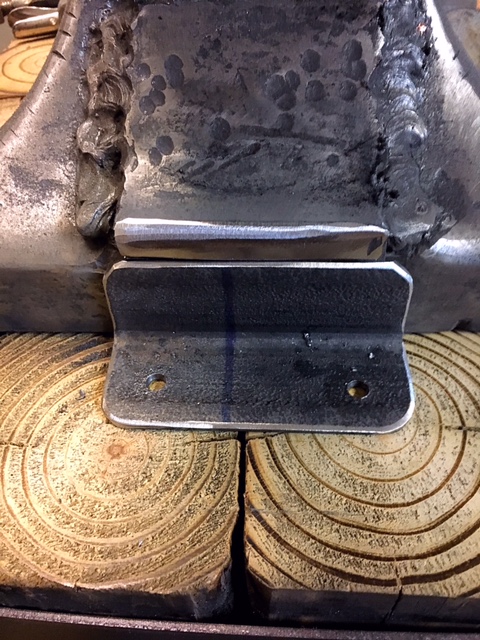  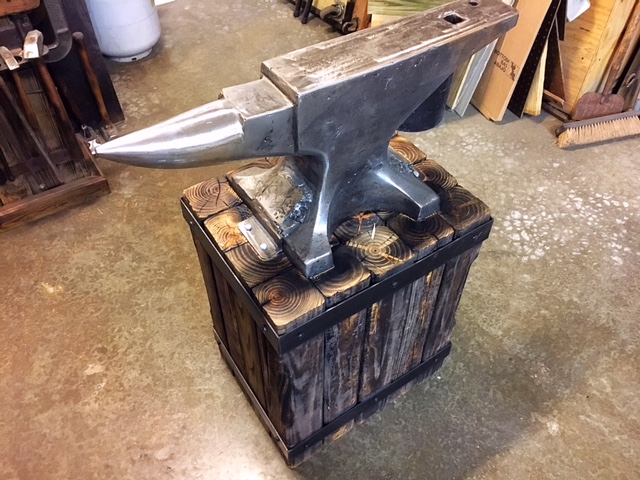 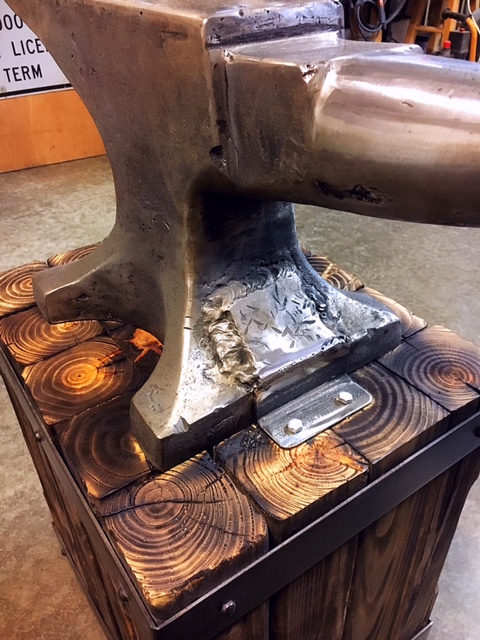 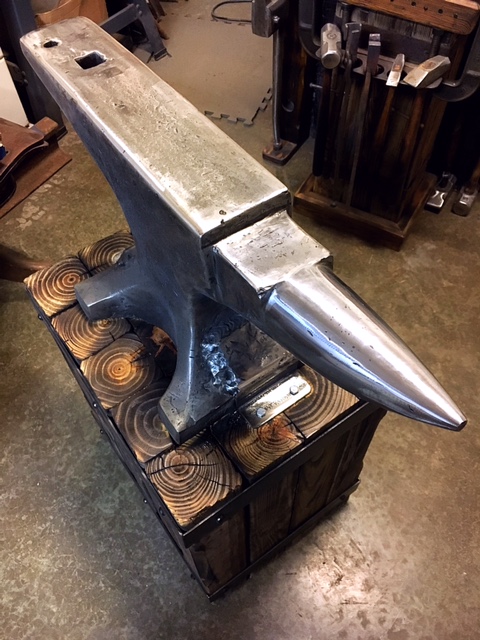 | |||
|
| member |
Looks like you have it well secured. I did mine with straps across the sides' feet, going all the way across and drilled just inside the feet for lag screws. The straps were also close up to the anvil body. I put very long lag screws into the wood stand at an inwards angle, and that setup totally secured it against moving, without doing anything to the anvil itself. I think I got the idea by looking at pictures of different methods on some blacksmithing forum. Since yours already had welded plates, your method will work very well. | |||
|
My hypocrisy goes only so far |
| |||
|
Nosce te ipsum |
Knowledge is king. Love having legitimate facts on possible diminished value when buying preowned merchandise. The anvil I owned had a concave top. Heavy trade use. Do you ever dress an anvil back to flatness or is that specialized machine shop work? | |||
|
My hypocrisy goes only so far |
Sway in an anvil isn’t really a bad thing unless it’s more than 1/8” . These days folks for some reason want razor sharp edges & machined flat hardened steel faces. I’m sure it has to do with all the recent budding “bladesmiths” spawned by Forged in Fire. A bladesmith does need a very flat surface or the flattening machine which isn’t cheap. I visit & watch Jesse at Sugarcreek Forge make really nice blades but that’s his livelihood. The old smiths I’ve been visiting with & talking to use the older stuff & round over the edges on their anvil faces . Different raidus along the length for more or less aggressive fullering depending on what they were doing. You know you don’t move metal efficiently on the face. It’s moved quickly on the edge. Hard edges will put deep fullers that’ll have to be worked smooth later. As for flattening the faces, it’s a machine shops job & only if there’ll be enough material left on the face plate afterwards. It’s not something I’d feel comfortable even hiring a shop to do. The expense in buying an old anvil and doing all the work to make it almost new would probably be cost prohibitive. A person would probably be better off waiting & spending that total amount on an anvil in the condition they want or simply buy a newly manufactured anvil. | |||
|
Legalize the Constitution |
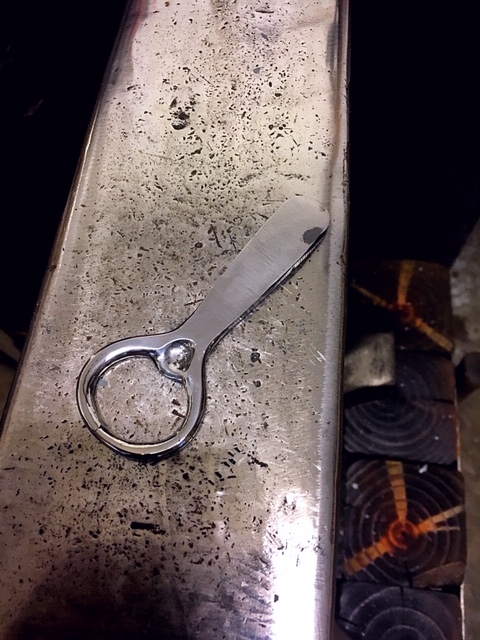
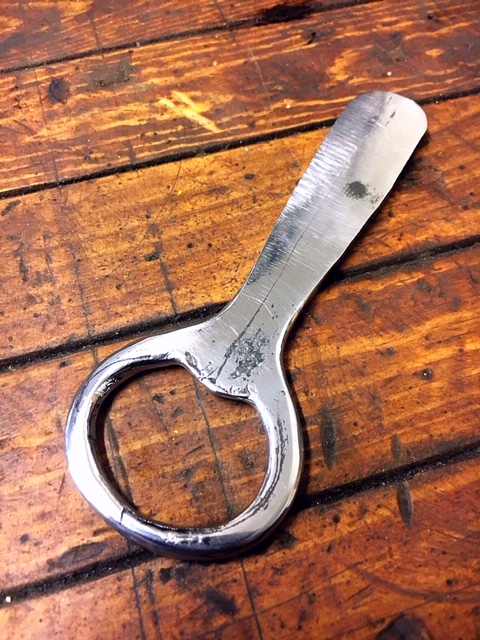
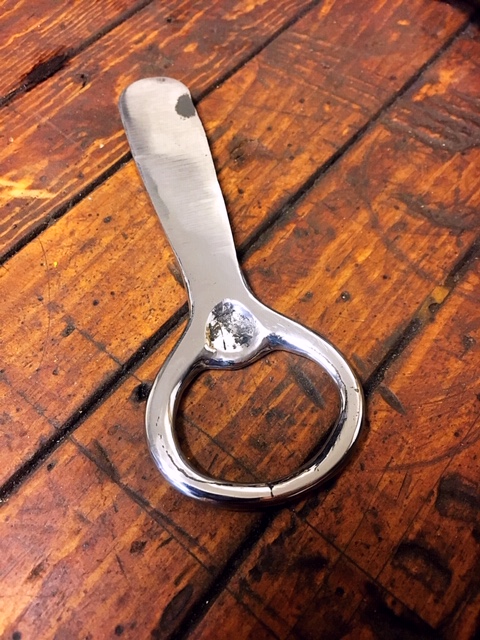
Really cool, GB. Enjoyed watching your shop coming together. Never know a bottle opener could be so beautiful. Drive on _______________________________________________________ despite them | |||
|
My hypocrisy goes only so far |
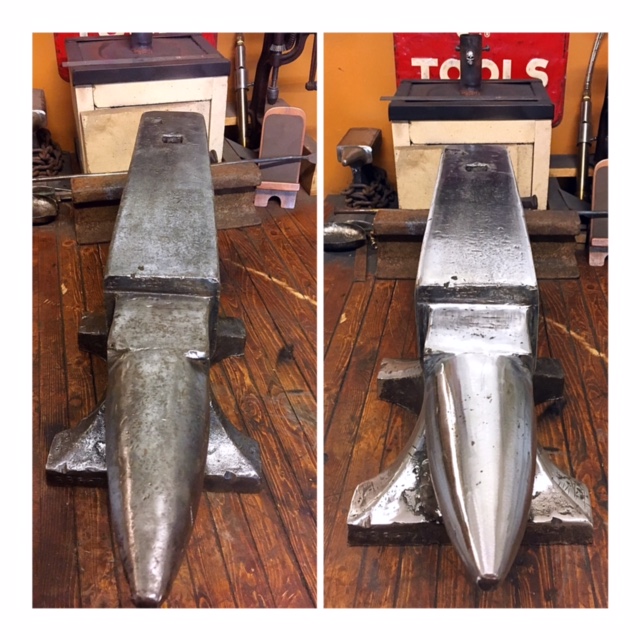
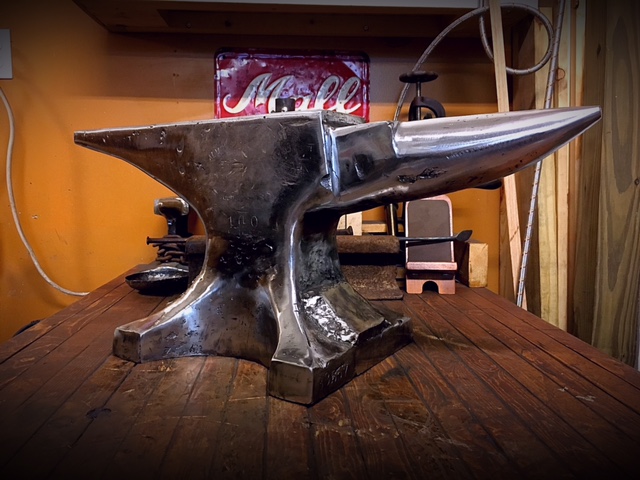
I apologize, I’d expected to have a small pile of them done by now and some Karmas up.... Then this new to me anvil came along & I couldn’t Not get it in shape & mounted. Sealed the stand prior to our trip out in the motorhome this past weekend and it’s darker than I wanted or expected. But I’m sure once it’s covered in scale I won’t care. 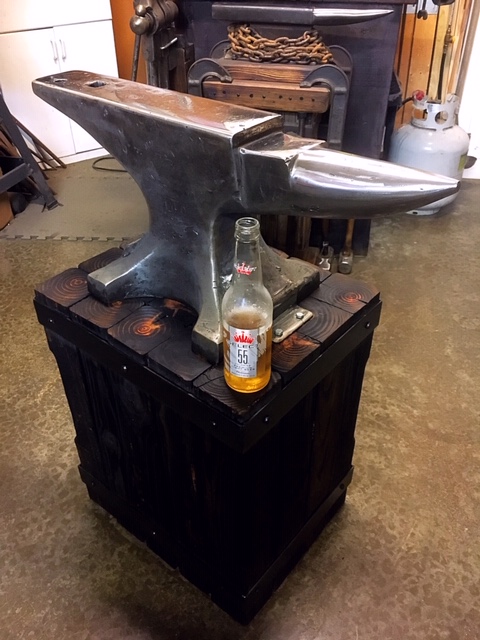 I began polishing the face. I have more anomalies to remove from the face but I can’t wait to use this thing so I’m stopping for now. A bit more polishing today & it’ll be time to play with the new toy. 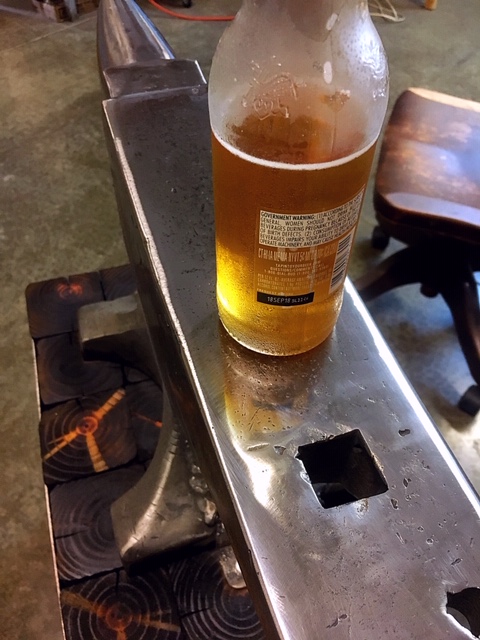 | |||
|
My hypocrisy goes only so far |
| |||
|
My hypocrisy goes only so far |
| |||
|
| :^) |
This anvil looks like it’s made from rail road track. Interesting, I hadn’t considered fashioning a horn on one. Still trying to find an affordable anvil, I never should have sold my old 150lb’r. This would be a viable alternative for the interim. Thanks for posting!
| |||
|
Nosce te ipsum |
I'd bet there are not a dozen people registered on the forum who knew the wire on that pail was called a bail. I'll have to pull that bit of knowledge out on an old timer. But they're getting harder to find. The Colt checkered panels, there are more if the first set get sacrificed. After you rivet wood to the metal, do you use a grinder to true up the edge? | |||
|
My hypocrisy goes only so far |
| |||
|
| Powered by Social Strata | Page 1 2 3 4 5 6 7 8 9 |
| Please Wait. Your request is being processed... |
|
© SIGforum 2025
